How to Build, Optimize, and Publish iOS Apps, the Right Way
Apple’s App Store is the biggest digital distribution platform in the world. With nearly 2 million apps on it, it is the one-stop destination for every iOS device user looking for utility tools, social media platforms, games, and entertainment apps. iOS app development plays a crucial role in creating high quality, user friendly applications that stand out in the competitive market.
For end consumers, this revelation adds to the list of reasons to invest in an iPhone. However, for iOS app developers, these stats depict something much bigger.
Think about it for a second: if you create an iOS app without immensely strong differentiators, what are the chances of it not getting lost in the vast ocean of apps? Very slim.
But here’s the good news: more often than not, that “key differentiator” doesn’t have to be an innovative, “never thought before” feature. As a developer, you can set your app apart by simply enhancing its efficiency. One way to do that is by making it more maintainable and scalable.
This post will explore the crucial aspects of iOS app design patterns, offering insights and best practices for developers to create maintainable and scalable applications. Let’s start!
Table of Contents:
- What are the Benefits of Creating Maintainable, Scalable iOS Apps?
- 5 Architectural and Design Patterns for iOS App Developers
- 3 Best Practices for Developing Efficient iOS Apps
- What are the Five Steps for Publishing Your App on Apple’s App Store?
- Embracing Diversity in App Design
- Principles for Accessible iOS App Development
- Text Display
- Wrapping Up
What are the Benefits of Creating Maintainable, Scalable iOS Apps?
As an iOS app developer, developing maintainable and scalable apps is an arduous task. But it’s worth the effort.
Here’s why:
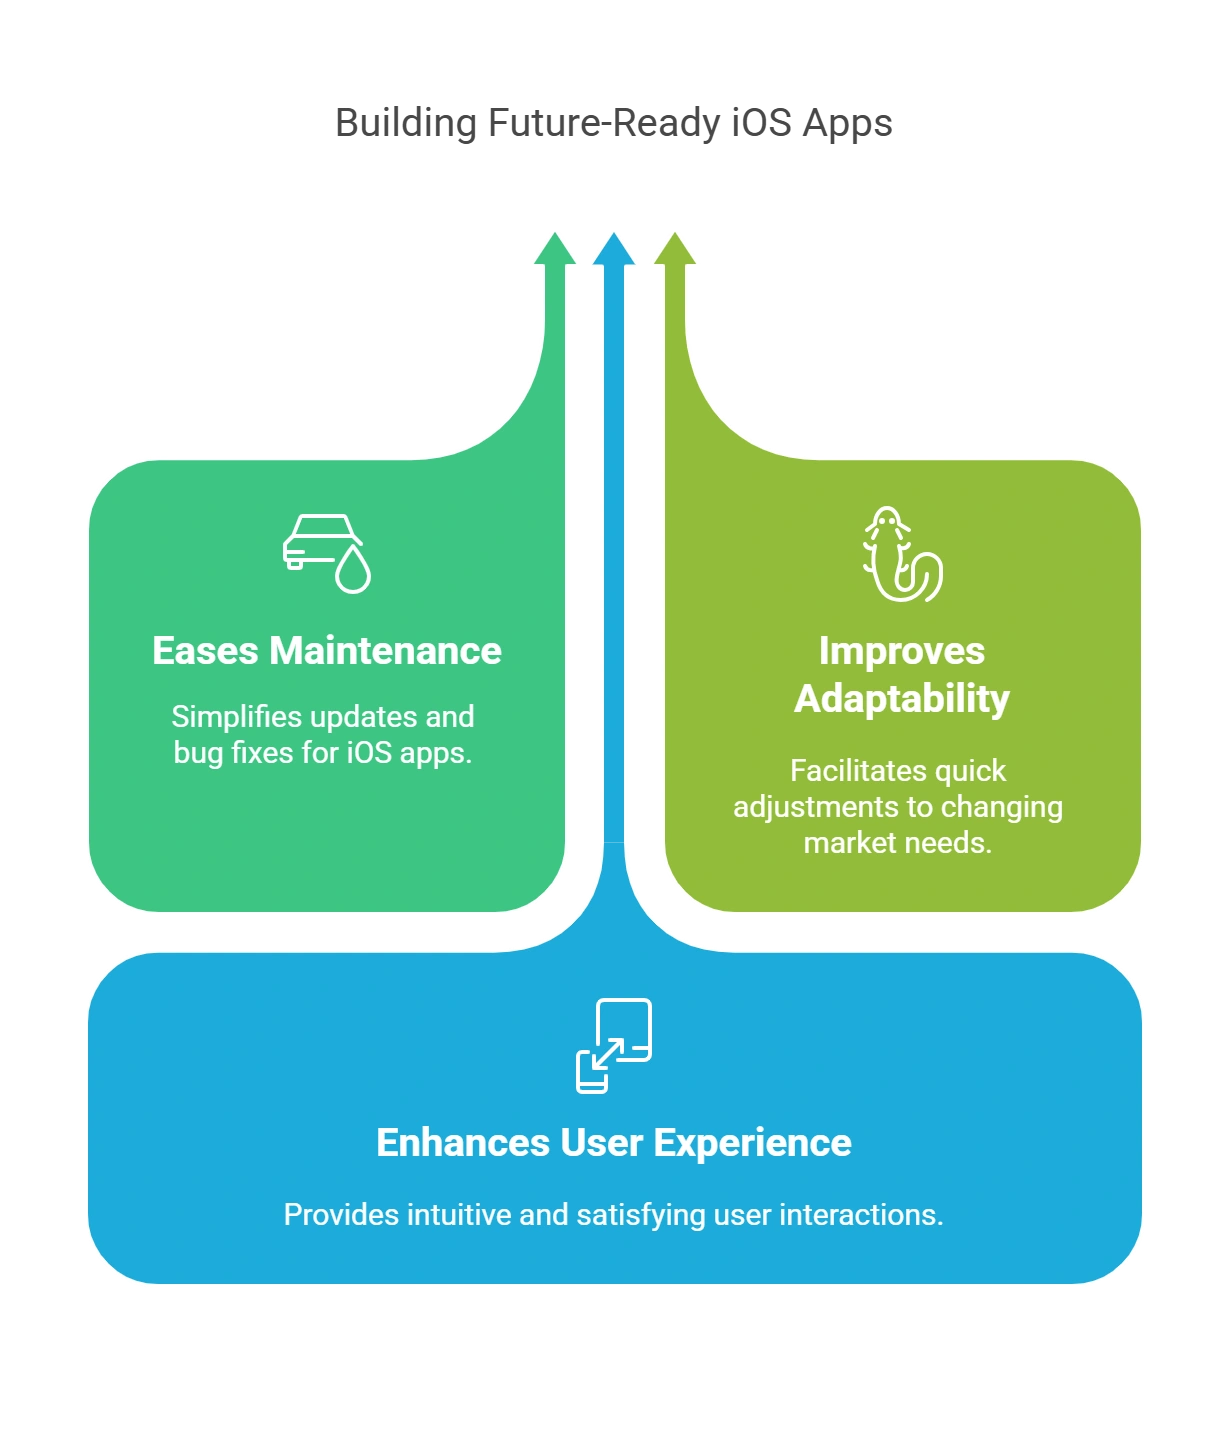
1. Eases Maintenance
By definition, maintainable apps are easier to maintain. As a developer, you can quickly identify bugs, fix issues, and bring in new updates. That’s so because such codebases are easier to interpret and work on.
2. Improves Adaptability
Adaptability is the biggest advantage of a scalable app over a non-scalable one. The former always offers enough room to accommodate new features, integrations, and technology, making it painless for companies to evolve and stay competitive.
3. Enhances User Experience
Scalable, maintainable apps are highly user-friendly. As they are regularly updated, these apps tend to perform incredibly well, with minimum interruptions and maximum responsiveness. It yields unparalleled user satisfaction and helps the app become popular among the audience.
5 Architectural and Design Patterns for iOS App Developers
Choosing the right architectural and design patterns is the path to creating efficiently maintainable and scalable iOS apps. Here are five of the best ones in this regard:
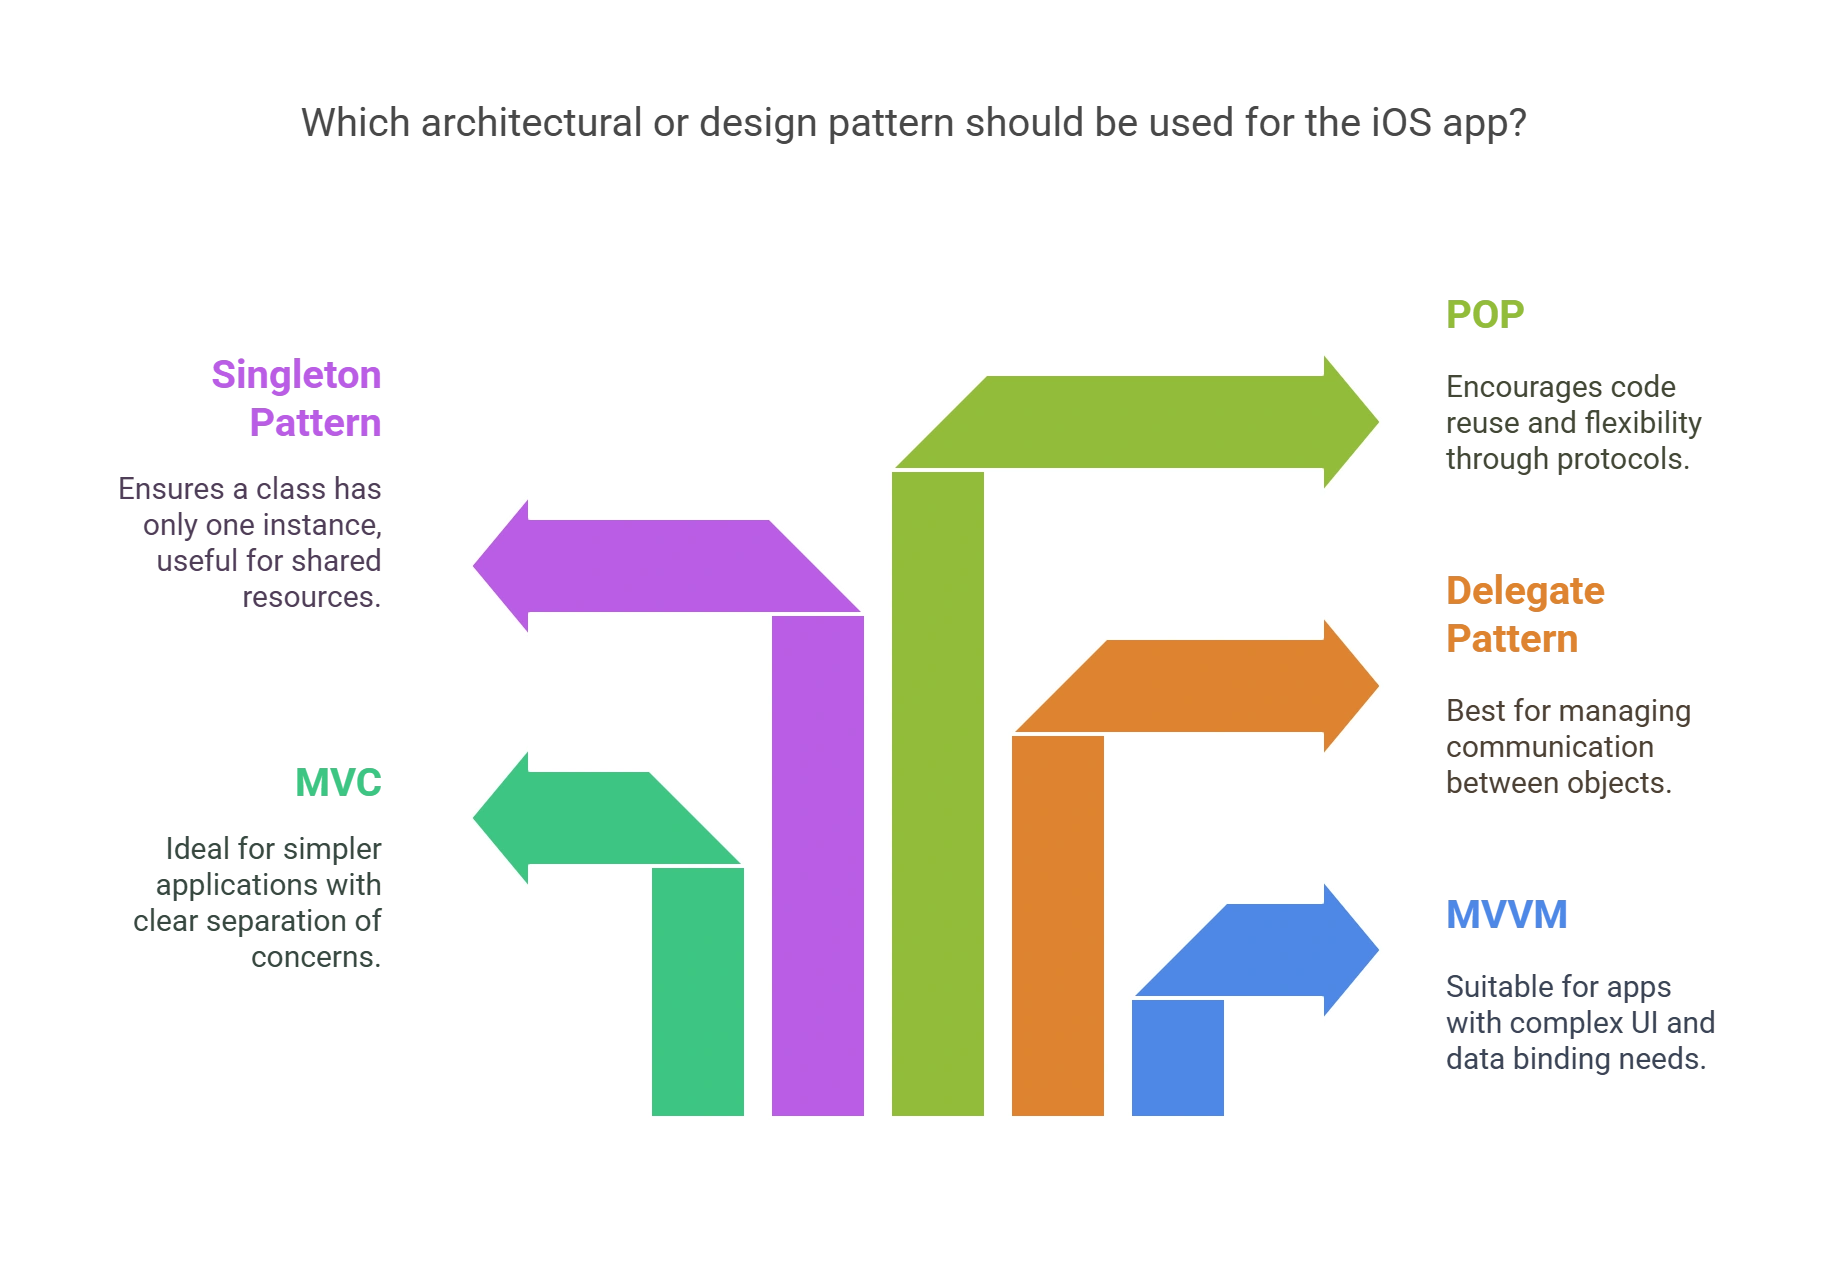
1. Model-View-ViewModel (MVVM)
Arguably one of the best iOS architectural patterns, the Model-View-ViewModel (MVVM) pattern aims to facilitate user interface and interaction. It comprises three interrelated components: Model, View, and view model. The “Model” aspect represents data, the “View” aspect represents UI components, and the “ViewModel” aspect represents their intermediation.
2. Model-View-Controller (MVC)
The Model-View-Controller (MVC) pattern is another remarkable architectural pattern used for iOS app development. It’s ideal for creating applications that require separation of concerns or parallel development.
It has three interconnected parts: Model, View, and Controller. While the first two components represent the same elements as in the MVVM pattern, MVC’s unique component is the “Controller.” Instead of ViewModel, here, the “Controller” plays the role of an intermediary between “Model“ and “View.”
3. Delegate Pattern
The Delegate pattern is a popular iOS app design pattern in Swift. As the name suggests, this one leverages a quintessential delegation framework to enable different design objects to communicate with each other.
This pattern consists of a “delegating object” and a “delegate object.” The former represents a class that delegates responsibilities, while the latter represents a class that handles the delegated responsibility. This unique design helps developers create modular and adjustable code.
4. Singleton Pattern
If you’re a developer who wants to build a maintainable iOS app that offers efficiency in resource management, the Singleton pattern makes for an ideal choice.
Another Swift design pattern only consists of a single instance of a class, the design object, which acts as the global, centralized point of access for all shared resources throughout the application.
5. Protocol-Oriented Programming (POP)
Protocol-Oriented Programming (POP) is a programming paradigm in Swift. This one utilizes protocols to define behavior and implements them in structures or classes. By doing so, POP allows code reusability and flexible design creation and fosters scalability and maintainability.

3 Best Practices for Efficient iOS Apps Development
Simply choosing the right design pattern is not enough to promise maintainability and scalability. As an iOS app developer, here are some best practices you must stick to ensure your apps are top-notch:
1. Prioritize Performance
Studies show that almost 90% of users stop using an app due to its poor performance. So, consider this while creating one. When planning the design and architecture of an app, choose the ones that offer maximum performance and efficiency. Utilize efficacious data structures and algorithms to ensure your app runs smoothly.
2. Optimize Code
When writing the code of your iOS app, strive to make it clean, readable, and effective. Apple has a set of coding guidelines for developers. Make sure you follow them to improve efficiency and maintain quality. Additionally, make it a point to optimize your code to reduce complexity and enhance performance regularly.
3. Focus on Security
In 2022, Apple rejected more than 40,000 apps from developers for privacy violations. So, make sure yours doesn’t end up on this list. To do so, implement robust safety protocols in your app. Also, closely follow Apple’s security guidelines and best practices to ensure your app meets their standards.
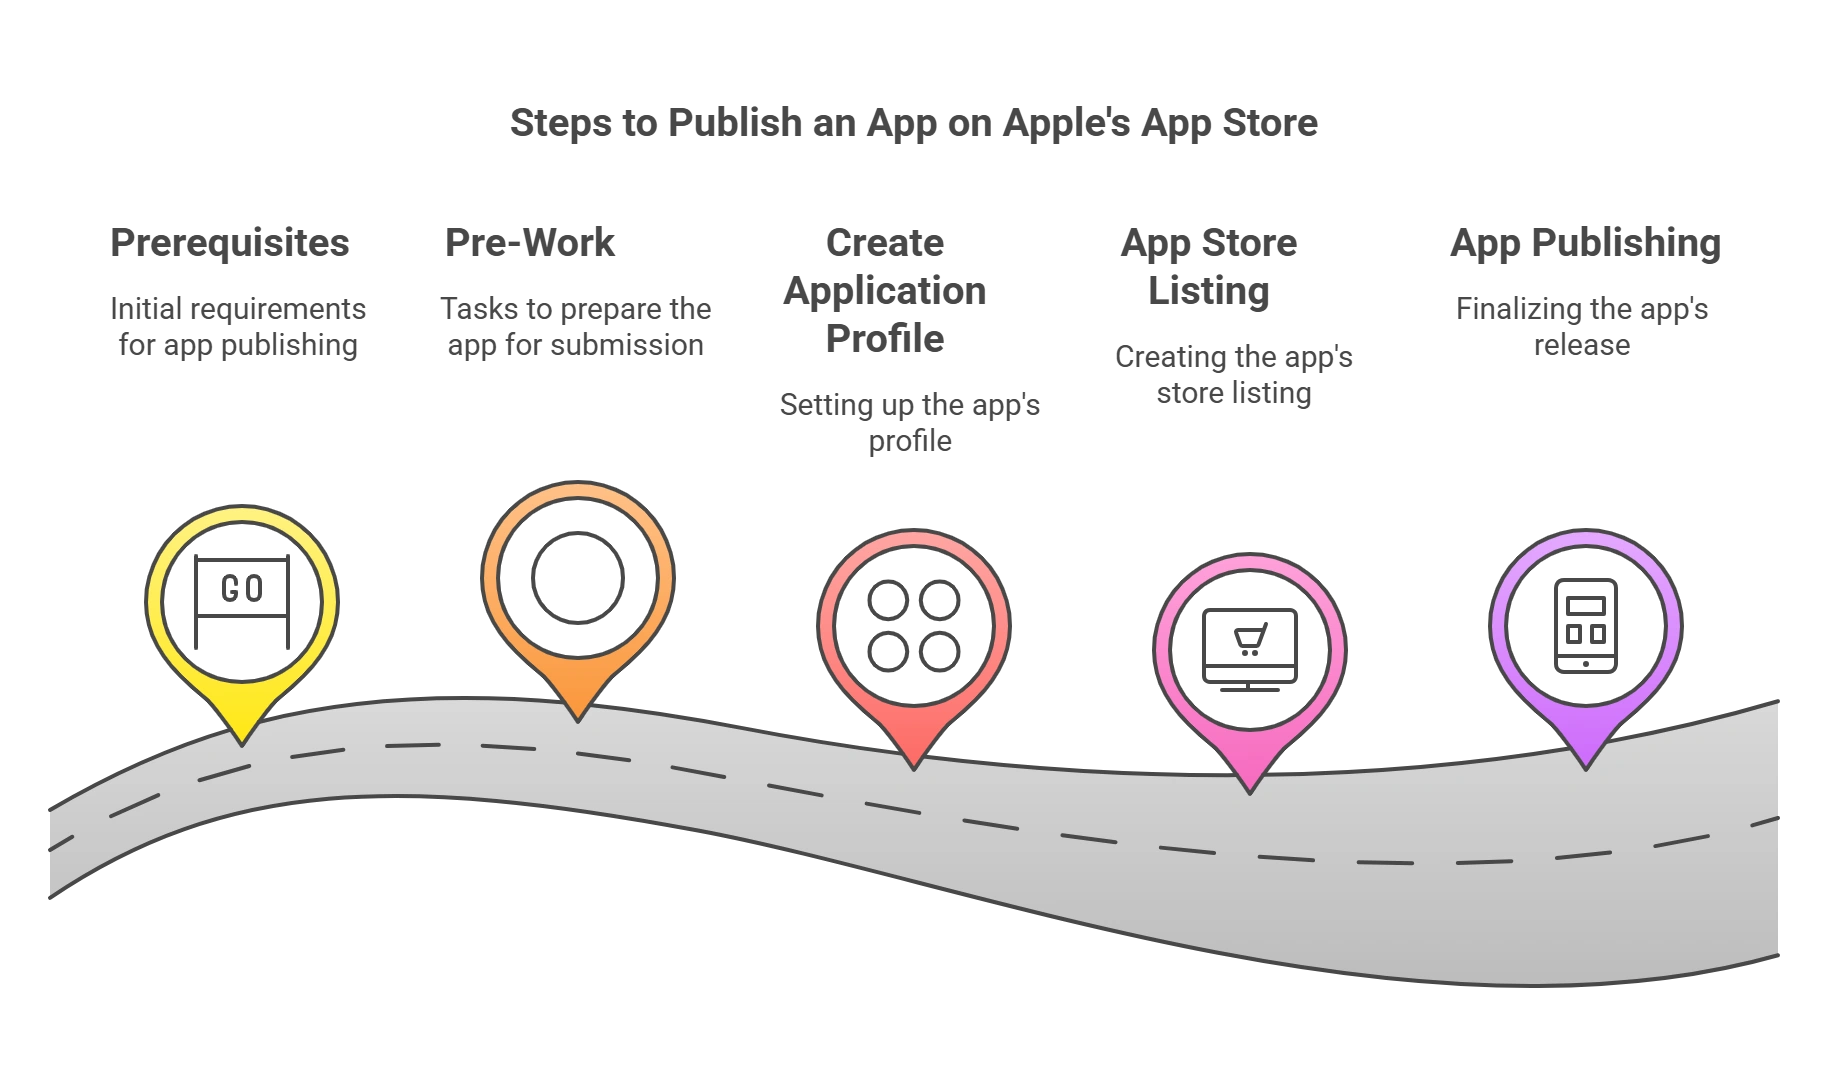
What are the Five Steps for Publishing Your App on Apple’s App Store?
Step 1 – Prerequisites
You need to ensure a few essentials are ready before beginning the publishing process, as these are mandatory requirements.
- Hardware & Software Requirements
You will need a system/computer that meets the following requirements.
- Runs MAC OS (latest version) with Xcode (latest version) and the iOS 15 SDK or above installed and running
- A system that has Keychain Access installed
- Account requirements
You will need to sign up for the Apple Developer program.
- Use an Apple device (iPhone, iPad, Mac) to download the latest version of the Apple Developer App from the App Store
- Launch the app
- Sign in with your Apple ID and review the Apple developer agreement then agree and enroll.
- Provide all details including identity verification proof.
- Next, you will need to make the payment, a yearly fee of 99 $
- Legal and Banking Requirements
Once your Apple Developer account is active, we suggest you fulfill the legal and banking-related requirements before you proceed to submit your app to the App Store.
- Log in to your Apple Developer account and Go to “App Store Connect”
- Go to the section “Agreement, Tax, and Banking”
- Agreement – Free app vs Paid Up agreement – click to view and then agree.
- Tax – There are various forms here, select the “Done” option and proceed to the next. Fill up the form with the best information you can provide and then submit it using the button at the top right.
- Banking – You need to update your banking details.
- Code Signing Request (CSR)
It is vital that all apps need to have a valid certificate from Apple. Code Signing, therefore, ensures to its users that the app they are downloading from the App Store is from a known source. Various security terms are involved in the process of code signings, such as public keys, private keys, certificates, and digital signatures.
You can do this by using Keychain Access, then going to Certificate Assistant.
- Firstly, open Keychain Access
- Then, go to the “Request a Certificate” section From a Certificate Authority.
- Finally, fill out the Certificate Information form.
- Save it and then click on Continue.
Now, you have the CSR on your local machine.
- Certificates
A distribution certificate is used to release an app to the App Store to run on any device. This, again, is a mandated requirement.
Follow the steps below to generate the distribution certificate:
- Sign in to the Apple Developer portal
- Then, Select “Certificates, ID & Profiles” from the menu on the left and select “Certificates.”
- After that, Select the iOS Distribution option and click on Continue.
- Select and upload the CSR file that we had generated previously. Click Continue.
- You can Download the generated iOS Distribution Certificate to your local machine.
- Double-click on the downloaded certificate and add it to your local device’s Keychain.
- Keep this file in a secured folder.
- The best practice is to create a Certificate Password to secure the certificate.
Step 2 – Pre Work
As mentioned earlier, prep work will make the following steps easy.
Unlike the Google Play Store, The Apple App Store requires you to upload a bunch of assets
- App Icon: This is the logo of your app. Needless to say, it is important.
- Screenshots: This gives the user a visual idea of how the app would look on his/her device,
- Preview Videos: This allows the developer to communicate the app’s various functionalities to the users.
Key App Information
As mentioned earlier, the App Store is a crowded place, and for your app to stand out, we suggest you consider these elements before you submit it.
- App Name
- Description
- App Category
- Keywords
- Support URL
- Age Rating
- Register Bundle ID
The Bundle ID is a unique identifier for your app. It allows you to manage your app from the Apple Store Connect and connect to third-party services offered by Apple.
To register your Bundle ID, open your Xcode project.
- First, Go to General,
- Find the Bundle ID and copy it.
- Then, – Log on to the App Store and connect with your developer ID
- Then, Under Certificates, Identifiers, and Profiles – go to Identifiers
- Click the + sign
- Select App ID, Continue
- Select App, Continue
- Then, Next page – enter your app name and Bundle ID that you copied
- Finally, Click Register
It will register your Bundle ID. Please ensure this is the same as your Xcode project.
- Provisioning Profile
The provisioning profile is a combination of different digital entities that you have created up until now. Its role is to confirm that a specific app with a specific App ID/Bundle ID can run on certain devices. Since we already have a registered Bundle ID and an iOS Distribution Certificate, we can move on to generating the provisioning profile.
- Firstly, Log in to the Apple Developers website.
- Then, Select Profiles
- Click + button
- Then, Select App Store
- After that, Click the App ID / Bundle ID we just created
- Then, Select the Distribution certificate we created in Step 1, Continue
- Lastly, enter a Provisioning Profile Name to identify the profile.
- Click Generate
Key Documents to add without fail are the Privacy policy document and Copyright document.
Step 3 – Create an Application Profile
You must now create your app profile in the App Store Connect module. After that, all the remaining steps in this process will occur in the App Store Connect module.
- Log in to App Store Connect
- Then, go to the “My Apps” section -> New App
- Copy App Name
- Select your language
- The Bundle ID
- SKU – This is for internal use.
- Select – Full access
- Finally, Click Create.
This will create a profile for your app. You are now ready to move to the next step.
Step 4 – App Store Listing
After the above steps, you will be redirected to the App Information page. This section gives the users all the information about your app. This is where you will use all the assets and key app information.
- Under App Name
- After that, provide the URL for the privacy policy
- Under Subtitle – Provide the app description
- Category – Provide the Primary and Secondary categories for your app
- Bundle ID/ SKU and Language – would be pre-filled.
- After that, fill out the Age Rating questionnaire.
- Then, select Pricing and Availability from the left-hand side menu
- Provide a price schedule – If your app is free, select a CAD Free category.
- Then, on the left-hand side menu – click Prepare for submission
- Here, you can submit all the Graphic Assets
- After that, fill in all other details
- Marketing URL is free marketing from the App Store – you can provide your website URL here.
- Then, go to General App Information
- App icon – Upload the app icon, which we created
- Copyright – Provide copyright information
- App Review Information is the section where you can provide information that the app reviewer can use to test your app before approving/rejecting it.
- If you want to release the app on a particular date, mention it here.
- Save the form.
Step 5 – App Publishing
We are now at the final step of publishing your app on the App Store. You can now upload the .ipa file using Xcode to App Store Connect.
Please follow these steps:
- Go to your project in Xcode.
- Then, click on the top menu and select Generic iOS Device from the target devices list.
- In the top menu, go to Product and select – Archive. This will create the Build that will appear on App Store Connect.
- You will have two options on the right-hand side: Distribute the app and Validate the app.
- Click Distribute the app.
- Then Choose – App Store Connect.
- Go through the wizard, leave all the default selections as is
- Finally, select the Distribution Certificate and the App name from the drop-down list. Click Next.
- Verify the information and click Upload
- Once the upload is complete, click Done.
Almost there!
This exercise will upload the built version of your app to the App Store Connect module. Then, you can submit your app for review in the App Store Connect module.
- Go to the Build Section, which we left blank in the previous step, and hit refresh.
- Then, you will see the app build we uploaded from Xcode here.
- Select the build.
- Now, you will see that the “Submit for Review” button is highlighted at the top left corner of your screen.
- Click “Submit for Review”
Finally, it’s done!
Congratulations! Your app has been submitted for publication in the App Store. Please bear in mind that this is only a submission. The Apple team will review this submission before releasing it in the App Store according to your specified Version-Release information. The review process could take anywhere from 1 to 14 days or even longer, depending on various factors. You’ll receive an email notification once the app has been reviewed.
Embracing Diversity in App Design
Crafting an app that adheres to accessibility guidelines requires acknowledging the spectrum of abilities and experiences users possess. Remember:
- Disabilities are Diverse and Fluid: Visual impairments, for instance, encompass low vision to complete blindness, including conditions like color blindness, blurry vision, light sensitivity, and peripheral vision loss.
- Disability is Universal: Beyond age-related changes, temporary disabilities like hearing loss from infection and situational limitations like noisy environments can eventually affect everyone.
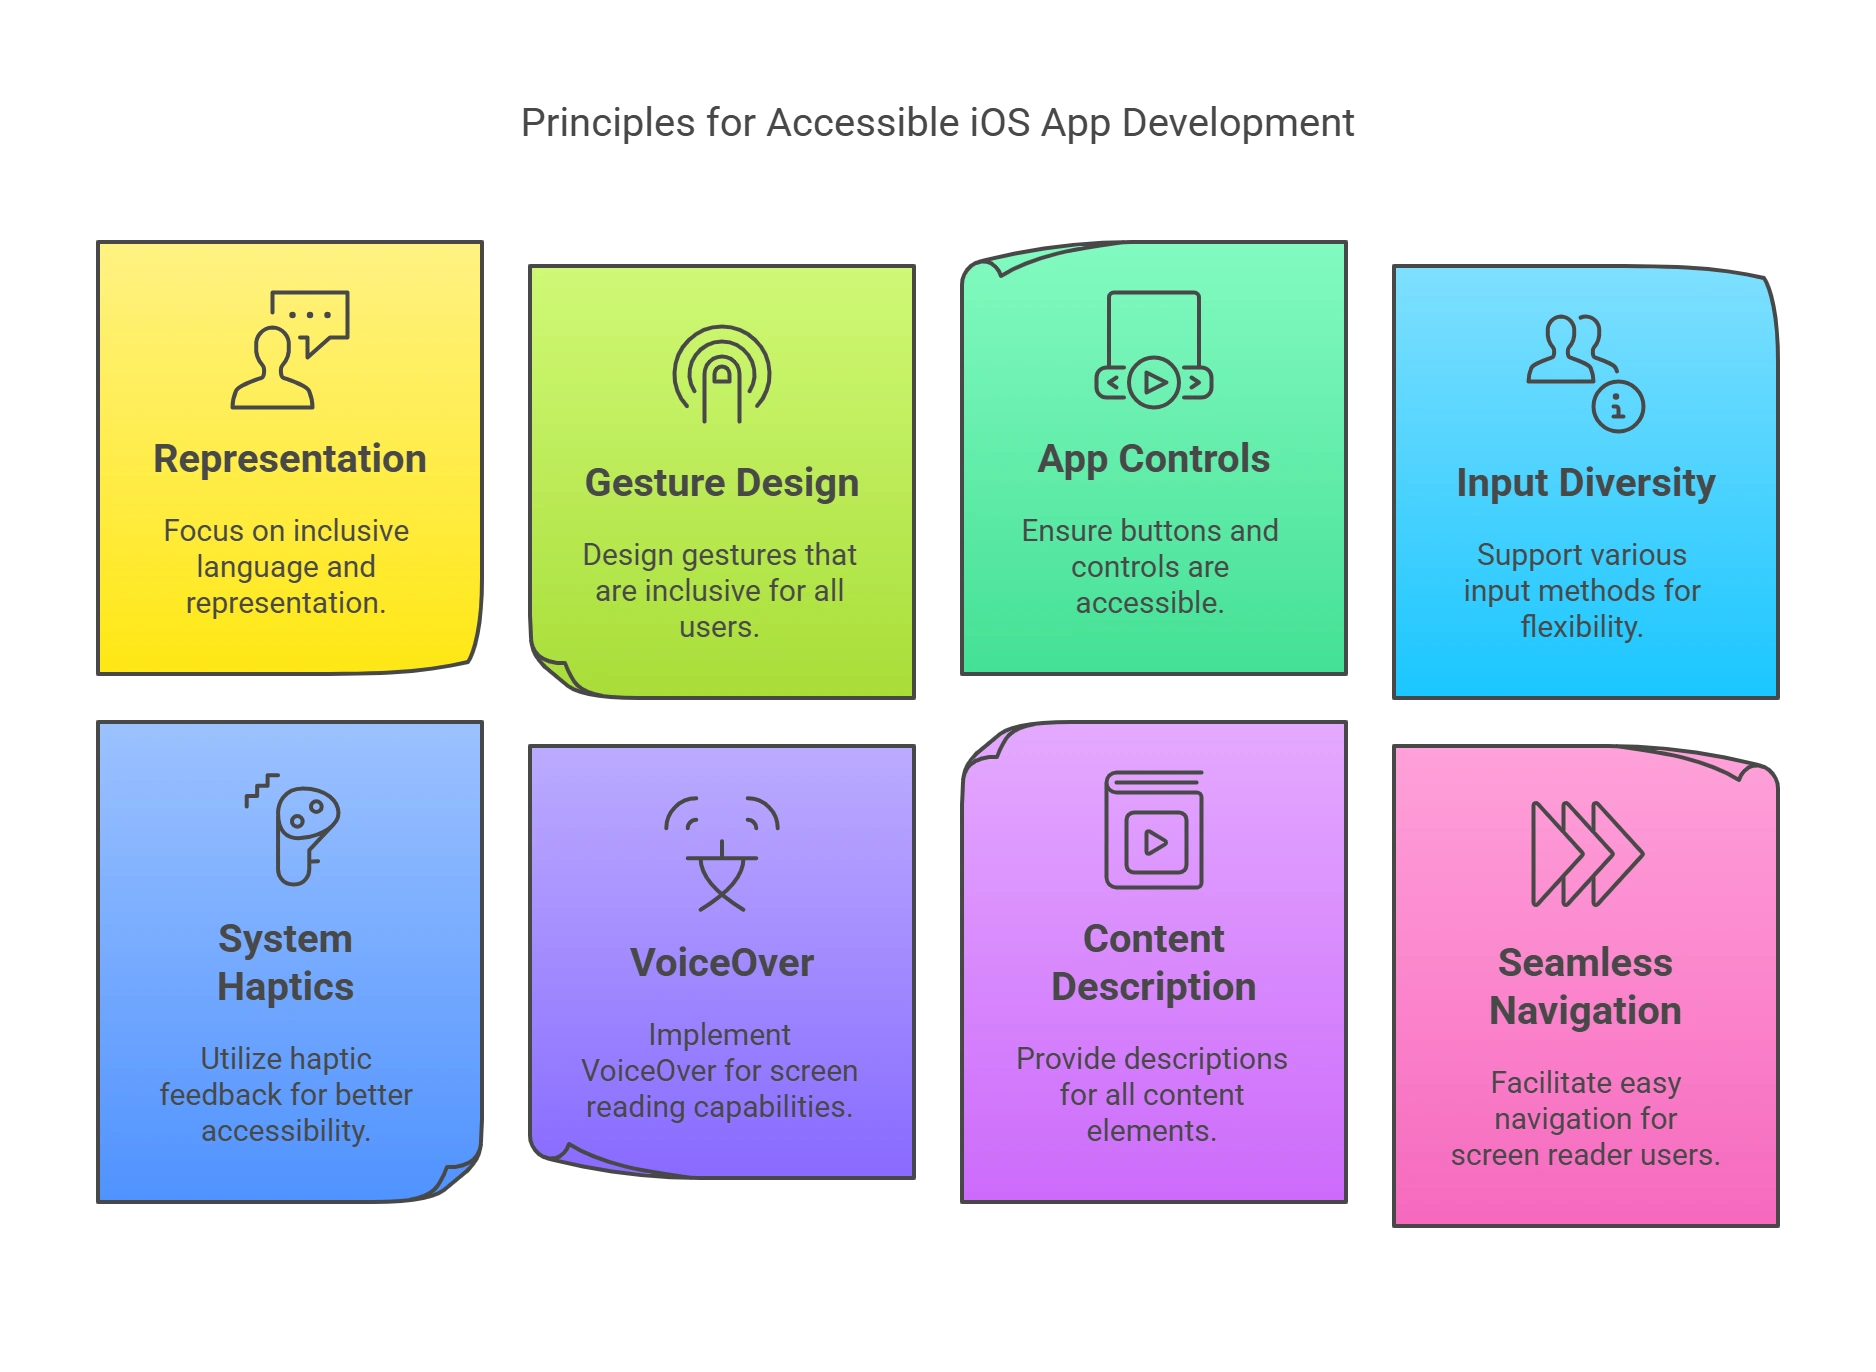
Principles for Accessible iOS App Development
Here are some key principles to guide your iOS app development:
1. Representation and Language
Including people with disabilities in visuals and avoiding language that associates disabilities with negativity promotes digital inclusivity.
- People-First Approach: To craft inclusive user experiences, highlight individuals’ achievements and goals before mentioning any disabilities they may have. Respect preferred self-identification when referencing specific people or communities.
- Simplicity and Ease of Use: Prioritize familiar and consistent interactions that make tasks intuitive and ensure content is perceivable through sight, hearing, or touch.
2. Embrace Inclusive Gesture Design
Assistive technologies like VoiceOver and custom gestures expand avenues for user interaction with your app. To ensure digital inclusivity, consider these accessibility-friendly iOS app development principles:
- Respect the Platform: Do not override familiar system gestures like swiping down for notifications. Users expect consistency across apps.
- Simplicity is Key: Prioritize simple gestures like taps and swipes for common actions. Complex multi-touch maneuvers can be challenging for diverse users.
- Offer Alternatives: Provide additional ways to perform gesture-based actions, including buttons or voice commands. It empowers users with different abilities to access your app’s core functionality.
- Support Assistive Tech: Ensure your custom gestures work with tools like VoiceOver and Switch Control, allowing users to navigate and interact with your app on their terms.
- Make Drag and Drop Accessible: Utilize accessibility APIs to identify drag sources and drop targets, making drag-and-drop features available to users of assistive technologies.
3. Inclusive App Controls and Buttons
When designing accessible iOS apps, making your app’s controls inclusive requires attention to detail.
- Size: Ensure buttons and interactive elements are sized generously for easy tapping, especially for users with limited dexterity.
- Characterize Clearly: Use accessibility APIs to inform assistive technologies how your custom elements behave. It ensures seamless interaction for users with screen readers or other tools.
- Visual Hierarchy: Use the platform’s built-in button styles to create a clear hierarchy, highlighting primary actions with prominent visuals. This guides users of diverse abilities to the most crucial functions.
- Switch it Up: Opt for the system-provided switch component and leverage automatic on/off labels for intuitive understanding. Consider adding descriptive labels for further clarity.
- Beyond Color: When marking links, use visual indicators like underlines in addition to color changes. It caters to users with color blindness, attention limitations, or other visual challenges.
4. Diverse Input: Voice, Shortcuts, and Text Flexibility
Embrace alternative input methods in your iOS app development.
- Dictation: Offer a “speak” option alongside typing fields and include mic keys in custom keyboards.
- Siri and Shortcuts: Enable voice-driven control for important tasks through Siri and Shortcuts integration.
- Text Selection: Allow easy selection of plain text for users who rely on it for translations and other tools.
5. System Haptics
Integrate and consistently utilize platform-specific haptic feedback where available. These subtle touch cues aid users, particularly those with visual impairments, in undertaking tasks and understanding app cues. Aligning with system defaults ensures intuitive and inclusive user experiences.
6. VoiceOver
VoiceOver, a comprehensive screen reader, announces on-screen elements and allows touch-based exploration with spoken feedback. Its support for Braille displays and continuous updates make it a popular choice when designing accessible apps.
7. Content Description
To ensure digital inclusivity in infographics and multimedia content, consider these principles:
- Provide concise text descriptions explaining the overall message.
- Make interactive elements accessible to assistive technologies.
- Hide purely decorative imagery from screen readers.
- Offer unique page titles and clear section headings for an intuitive information hierarchy.
- Utilize closed captions for audio content, with the option for multiple languages.
- Provide audio descriptions for vital visual information in videos.
- Offer transcripts for videos encompassing both audio and visual content.
8. Seamless Navigation for Screen Reader Users
To integrate accessibility into your mobile iOS app development, navigating with VoiceOver must be smooth and intuitive.
- Provide Accessibility Information for Custom Elements: While system components are pre-equipped for screen readers, you must manually define labels and descriptions for custom UI elements to ensure discoverability.
- Describe Visual Relationships: Go beyond proximity and alignment for grouping and ordering elements. Explicitly inform VoiceOver about relationships that are only visually apparent, aiding users in building a mental map of the interface.
- Announce Content and Layout Changes: Unexpected shifts in content or layout can disorient users. Keep VoiceOver informed of such changes to maintain cohesive and inclusive user experiences.
- Signal Navigation Transitions: When a button leads to a new webpage or app, append an ellipsis to its title, indicating a shift in context and preparing users for a change in focus.
- Label All Interface Elements: Every button, image, and interactive component should have a clear and concise alternative text label for VoiceOver to read aloud, guiding users through the app.
- Full Keyboard Access: Ensure all functionalities can be accessed and interacted with using the keyboard in iPadOS, macOS, and VisionOS. It caters to users who prefer keyboard navigation or rely on assistive technologies like Switch Control.
- Respect System Shortcuts: Avoid overriding existing keyboard shortcuts defined by the platform. This control consistency minimizes user confusion and promotes digital inclusivity across different apps.
9. Text Display
Incorporate Dynamic Type, a feature allowing users to personalize font size, into your iOS app development.
- Test Your App: Verify that all UI elements, including text and glyphs, scale and remain legible across all Dynamic Type font sizes. It ensures comfort and readability for everyone.
- Minimize Truncation: Prioritize displaying as much relevant text as possible, even at the largest font size. Avoid truncating text in scrollable areas unless additional content can be accessed elsewhere.
- Adjust Layout at Large Sizes: Consider switching from inline layouts to stacked layouts at larger font sizes to prevent crowding and enhance text readability. Reduce the text column count if necessary.
- Scale Interface Icons: Ensure crucial icons scale and remain easily visible at increased font sizes.
- Favor Regular or Heavy Weights: Opt for clear and easily discernible font weights like Regular, Medium, Semibold, or Bold. Avoid lighter weights like ultralight, thin, and light.
- Respond to Bold Text Setting: Ensure your app properly renders bolder text and increases stroke weight for glyphs when users activate the Bold Text accessibility setting.
- Prioritize System Fonts: Utilize system fonts for optimal legibility unless a compelling purpose justifies using a custom font. Ensure custom fonts are easily readable, even at small sizes.
- Avoid Justification: Opt for left-aligned (or right-aligned for right-to-left languages) text to minimize distracting visual patterns and improve readability for users with learning or literacy challenges.
- Sparingly Use Italics and Caps: Employ italics and all caps for emphasis rather than prolonged text passages, as overusing these styles can hinder readability.
10. Color and Effects
In your iOS app development, instead of solely relying on color for information, use text labels or additional visual cues.
- System Colors: Prefer system colors for text to ensure proper response to accessibility settings like Invert Colors.
- Color Contrast: Utilize high contrast to enhance readability across various font sizes and lighting conditions.
- Reduce Transparency: Adjust blurring and transparency to maintain legibility when users activate the Reduce Transparency setting.
11. Motion
Prioritize static experiences to create inclusive user experiences, regardless of preferences or potential sensitivities.
- Minimize Animations: Avoid animations altogether unless they are crucial to the core functionality of your iOS app.
- Reduce Animations in Reduce Motion Mode: Shorten or disable animations likely to cause discomfort for users with motion sensitivity.
- Provide Controls for Video and Motion: Give users control over auto-playing video and other dynamic elements.
- Limit Movement and Blinking: Avoid flashing or moving elements as the sole means of conveying information, as they can distract or trigger seizures.
Wrapping Up
For iOS app developers, creating maintainable and scalable apps is no longer an option.
Given the vast plethora of options available in Apple’s App Store, it’s become a necessity. It not only ensures your app gives the best experience to its users, In doing so, it also helps you build a reputation and gain a competitive advantage.
If you’re seeking guidance and support on your development journey, look no further than Hurix Digital. Our comprehensive Web and Mobile App Development solutions empower you to effortlessly craft maintainable and scalable iOS apps, as well as applications for other operating systems, without any hassle.
Reach out to us today and kickstart your journey toward app excellence!

Currently serving as the Vice President of Technology Delivery Operations at HurixDigital, a prominent global provider of digital content and technology solutions for publishers, corporations, and educational institutions. With over 16 years of experience spanning EdTech and various domains, I hold certification as a SCRUM Product Owner (CSPO). My expertise includes operations, finance, and adept people management skills.